![[New] Leveraging iMovie Content on the Vimeo Network](https://thmb.techidaily.com/8383b1955265d208bd65863f99fa93e0506dbf01fc1cf31d37490fb679a3c33d.png)
[New] Leveraging iMovie Content on the Vimeo Network
Leveraging iMovie Content on the Vimeo Network
How to Upload iMovie Video to Vimeo

Ollie Mattison
Mar 27, 2024• Proven solutions
Many users would like to share their videos from iMovie to their social networks, such as YouTube, Facebook, and Vimeo. iMovie’s “Share” option makes it easy to upload your new video straight to your social networks account from iMovie. In this article, we’ll teach you how to upload iMovie videos to Vimeo easily and smoothly.
Part 1: How to Upload iMovie Videos to Vimeo
In order to upload iMovie videos to Vimeo, you have to set up an account with Vimeo before uploading videos. Watch the video below to upload iMovie video to Vimeo.
Here’re the detailed steps:
Step 1: Click the Share button which can be located at the top of your screen.

Step 2: Select Vimeo.
Then all you need to do is to enter the email address you used to log into Vimeo, your password as well as a title, description, and tags for the video. You can also select which size you’d like your video to be. Then read the Vimeo terms of service and click Publish.
Step 3: Wait for the pop-up message to appear indicating your upload is complete.
Part 2: How to Compress the Video
When trying to upload iMovie videos to Vimeo, many people may get a pop up telling them the file is too big. Don’t dismay as compressing the video will allow you to upload without additional problems.
Step 1: Find the export settings in your program, generally under “File – Export”, “File – Share”, or “Save As”.
Step 2: Select “File” and save the video to Mac.
Step 3: Compress the video.
An alternative to the aforementioned compression method is to use Compressor. Before you can do anything, you need to set up an account first or use an existing Facebook or Google account to do so.
One of the most popular tools that can significantly shrink the file size without losing quality is ClipChamp .
Follow this instruction to compress your videos without sacrificing the quality.
Step 1: Upload your video and set it to compress.
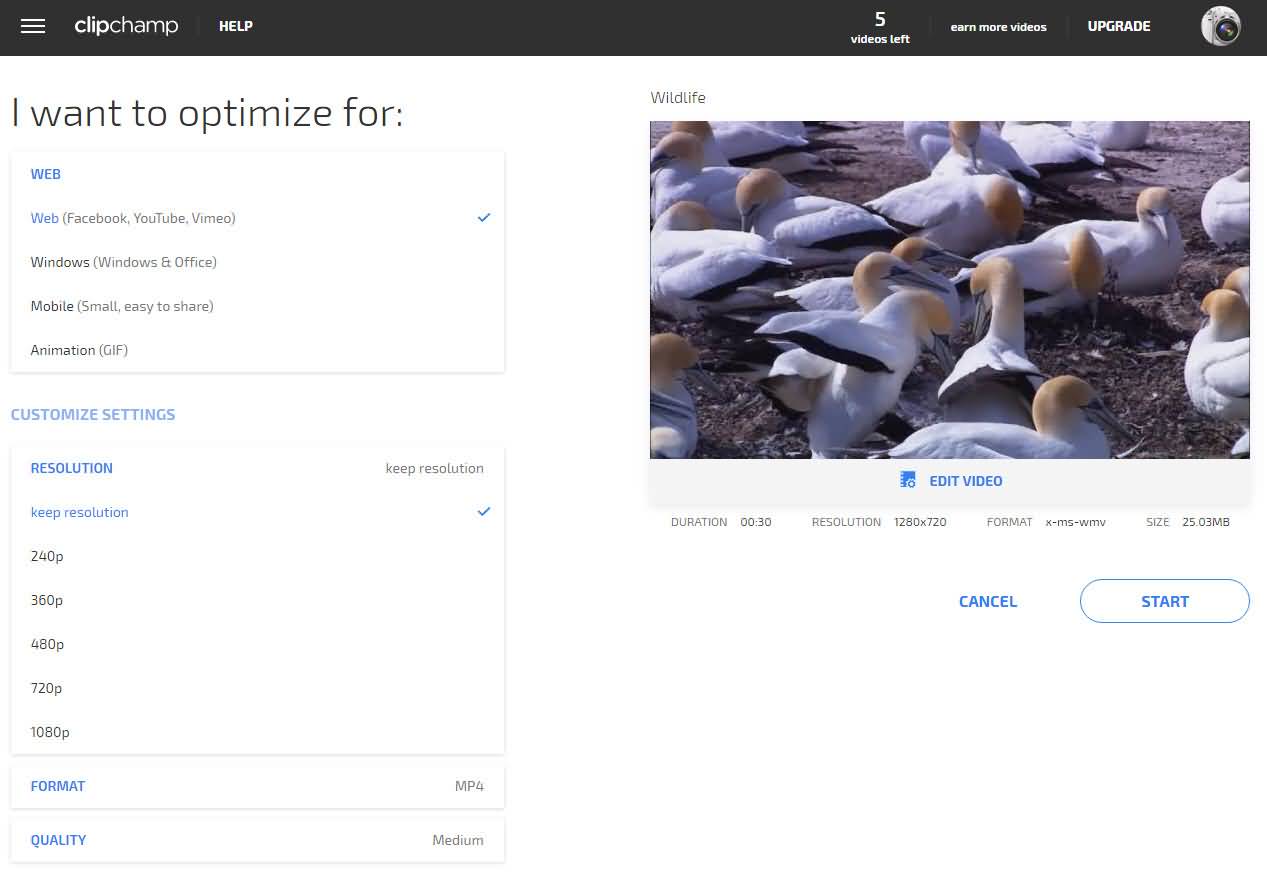
Step 2: Press Start to begin compressing.
Step 3: Then share the video directly to Vimeo.

As you can see, using the Clipchamp compressor to compress before you upload iMovie videos to Vimeo is a simpler, faster way to do. It’s great for people who are new to video making, editing, and uploading. For those with more skill, reducing the steps is an excellent way to save time and get videos up faster.
Ollie Mattison
Ollie Mattison is a writer and a lover of all things video.
Follow @Ollie Mattison
Ollie Mattison
Mar 27, 2024• Proven solutions
Many users would like to share their videos from iMovie to their social networks, such as YouTube, Facebook, and Vimeo. iMovie’s “Share” option makes it easy to upload your new video straight to your social networks account from iMovie. In this article, we’ll teach you how to upload iMovie videos to Vimeo easily and smoothly.
Part 1: How to Upload iMovie Videos to Vimeo
In order to upload iMovie videos to Vimeo, you have to set up an account with Vimeo before uploading videos. Watch the video below to upload iMovie video to Vimeo.
Here’re the detailed steps:
Step 1: Click the Share button which can be located at the top of your screen.
Step 2: Select Vimeo.
Then all you need to do is to enter the email address you used to log into Vimeo, your password as well as a title, description, and tags for the video. You can also select which size you’d like your video to be. Then read the Vimeo terms of service and click Publish.
Step 3: Wait for the pop-up message to appear indicating your upload is complete.
Part 2: How to Compress the Video
When trying to upload iMovie videos to Vimeo, many people may get a pop up telling them the file is too big. Don’t dismay as compressing the video will allow you to upload without additional problems.
Step 1: Find the export settings in your program, generally under “File – Export”, “File – Share”, or “Save As”.
Step 2: Select “File” and save the video to Mac.
Step 3: Compress the video.
An alternative to the aforementioned compression method is to use Compressor. Before you can do anything, you need to set up an account first or use an existing Facebook or Google account to do so.
One of the most popular tools that can significantly shrink the file size without losing quality is ClipChamp .
Follow this instruction to compress your videos without sacrificing the quality.
Step 1: Upload your video and set it to compress.
Step 2: Press Start to begin compressing.
Step 3: Then share the video directly to Vimeo.
As you can see, using the Clipchamp compressor to compress before you upload iMovie videos to Vimeo is a simpler, faster way to do. It’s great for people who are new to video making, editing, and uploading. For those with more skill, reducing the steps is an excellent way to save time and get videos up faster.
Ollie Mattison
Ollie Mattison is a writer and a lover of all things video.
Follow @Ollie Mattison
Also read:
- [New] 2024 Approved Secrets When to Share Content for YouTube Success
- [New] Boosting Vimeo Content Delivery for 2024
- [New] How to Trim and Cut Vimeo Videos for 2024
- [New] In 2024, Which iPhone Video Editor Stands Tall? Cameo Vs. FilmoraGo
- [New] Unlocking Potential The Best Non-Vimeo Editors Listed
- [New] Unveiling Advanced Game Recording Techniques in Windows 11
- [Updated] Direct Download Process From Vimeo to MP3 Format for 2024
- Deciphering & Correcting Windows Defender Error 0X80004004
- Ensuring File Security on Windows 10: Master the 7 Essential Steps for Transferring and Backing Up Files on Another Drive
- How to Steer Clear of Common Scams in ChatGPT Interactions
- In 2024, How to Transfer Contacts from Samsung Galaxy M34 to Outlook | Dr.fone
- This is how you can recover deleted pictures from Vivo X90S.
- Title: [New] Leveraging iMovie Content on the Vimeo Network
- Author: Michael
- Created at : 2025-01-22 17:49:05
- Updated at : 2025-01-24 18:23:53
- Link: https://vimeo-videos.techidaily.com/new-leveraging-imovie-content-on-the-vimeo-network/
- License: This work is licensed under CC BY-NC-SA 4.0.